If you’re someone like me who has a fascination with learning new things, well this is the article for you. We’ll be learning how to scrape Google Search results using Python.
But before moving on, let’s just get this first part out of the way…
I am not a coder, I didn’t go to school for a computer science degree, but that doesn’t mean people like me can’t code. It took me a long time before I could start to understand the things I know now when it comes to building simple scripts or apps and I didn’t have anyone to help me.
My goal with this article is to try and give YOU (the non-coder) an easy-to-follow guide on how to build a simple web scraper. You won’t need to have any previous coding knowledge to get started either! Alright, let’s get right into this tutorial on how to scrape Google Search results using Python.
Getting Your First Environment Setup
There will be a few assumptions though, you’ll need to have a visual code editor installed on your computer. I prefer to use VS Code, and I think this is what you should probably go with too as a beginner. It’s also completely free and will work great for most of your coding projects.
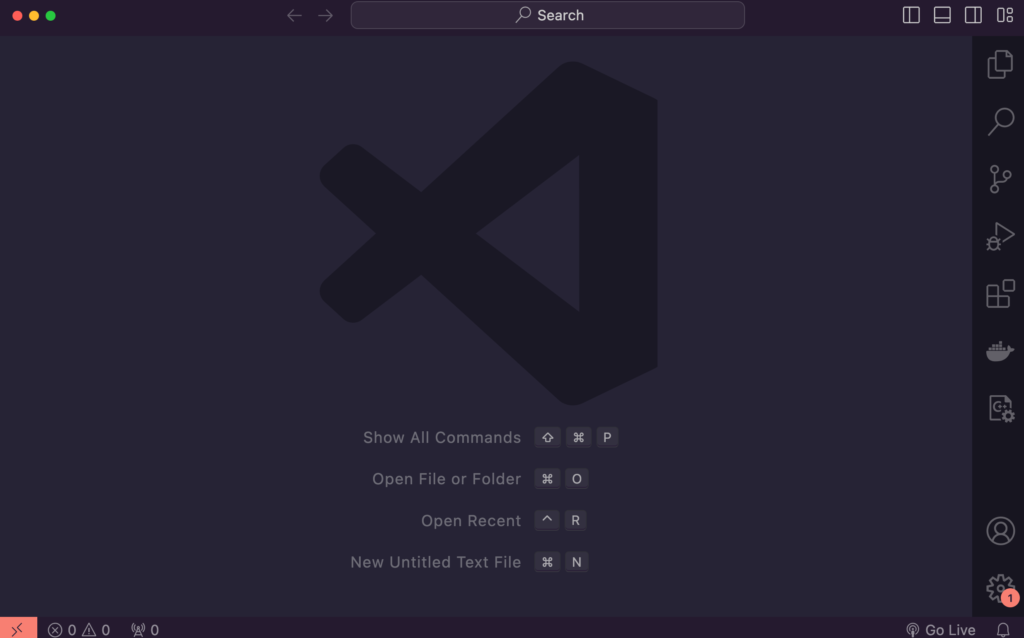
Once you have it downloaded and installed open it up on your computer, it should look something like this.
The next thing you’ll need to do is download the latest version of Python to your computer. After you have completed the installation, you’ll want to verify it is correctly added to your system. You can run this command in your terminal:
$ python3 --version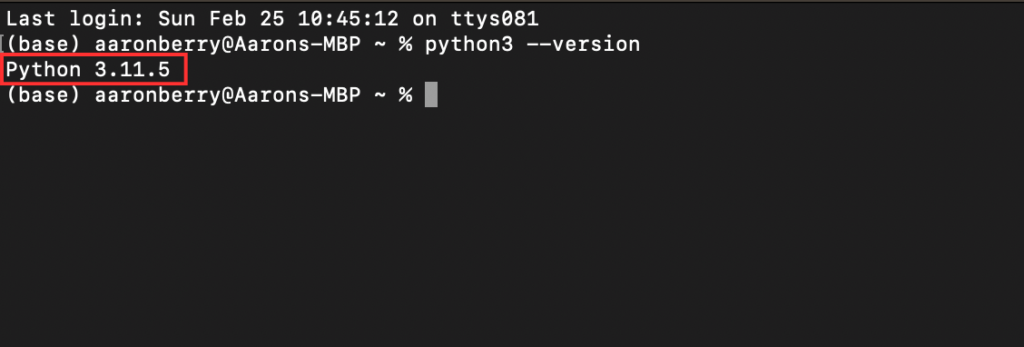
Once you have confirmed that Python is correctly installed on your system, we can proceed to install the libraries we’ll need to use this scraper. Open up your terminal again and run the following commands:
$ pip install selenium
Now that we have installed selenium onto our system, we can move onto the really fun stuff! 🥳
If you don’t already have it open, open up VS Code in a new window. If you’re on a Mac like me, you’ll see a tab called “Terminal” in your top bar.

Nice! Now we have the necessary libraries and dependencies to be able to run our scraping script in Python. The next step will be creating a special project directory for our script.
Create The Project Directory
Let’s create a new directory to hold our project in, type the following command in the terminal that just opened up:
$ mkdir python-scraperWe just created a new directory in your root directory called “python-scraper”. We’ll want to open this directory up in our VS Code window so we can add the necessary scripts to run our code to scrape Google Search results. It should look something like this.

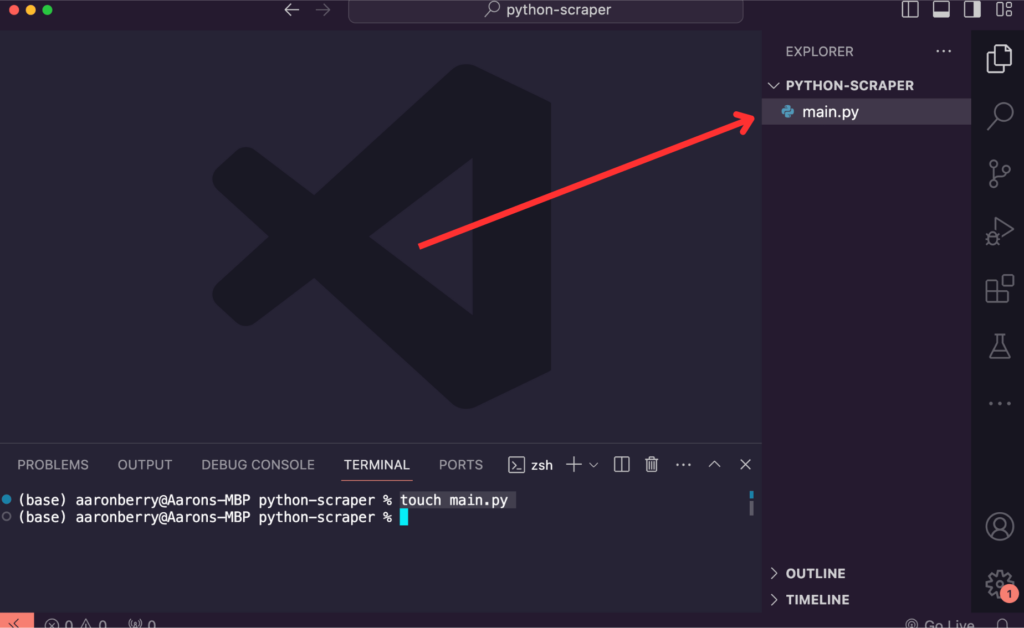
At this point, you should have the directory “python-scraper” opened up in your VS Code window. Now we will add our script file to the directory. We can do this by running a simple command in our terminal. Make sure you are inside the correct directory “python-scraper” before running this command.
$ touch main.pyThis will create a new file within your “python-scraper” directory called “main.py”. To edit this file, simply locate the “Explorer” sidebar and click on the newly created file.
Now that we’ve gotten that out of the way, the real fun begins. It’s finally time to start writing some code! In this next section, we’ll go over step by step on how you can set up your very own Python script that scrapes Google Search results.
Scraping With Selenium & Python
Don’t worry if you don’t fully understand what I am about to tell you, I’ll also paste the entire code for you to review below as well.
- The script uses Selenium to automate a headless Chrome browser to scrape Google search results.
- It defines a function
scrape_google_search_results(search_term)that takes a search term as input and returns a list of dictionaries containing the scraped data. - Inside the function, it initializes a headless Chrome browser using Chrome WebDriver and navigates to the Google search results page for the provided search term.
- It extracts data such as title, link, and description for each search result on the page.
- The scraped data is stored in a list of dictionaries named
scraped_results. - Finally, it returns the scraped results.
So how does all this work? The first thing we need to do is start by importing all of our required modules into main.py.
Step 1 – Import Required Modules
Add the following:
from selenium import webdriver
from selenium.webdriver.common.by import By
from selenium.webdriver.support.ui import WebDriverWait
from selenium.webdriver.support import expected_conditions as EC
from selenium.common.exceptions import TimeoutException, NoSuchElementExceptionwebdriverand related imports: These are from Selenium, a powerful tool for browser automation.By: This module provides methods to locate elements on a webpage using different strategies.WebDriverWaitandexpected_conditions: These modules are used to wait for certain conditions to occur before proceeding with the execution.TimeoutExceptionandNoSuchElementException: These are exceptions that can be raised during the execution of the script.
Step 2 – Set Up A Chrome Webdriver
Add this under your imported modules.
chrome_options = webdriver.ChromeOptions()
chrome_options.add_argument("--headless")
chrome_options.add_argument("--disable-gpu")
chrome_options.add_argument("--no-sandbox")
chrome_options.add_argument("start-maximized")
chrome_options.add_argument("disable-infobars")
chrome_options.add_argument("--disable-extensions")webdriver.ChromeOptions(): This creates an instance of the ChromeOptions class which allows us to set various Chrome-specific options.add_argument(): This method allows us to add command-line arguments for configuring Chrome. Here, we are setting options to run Chrome in headless mode (without GUI) and disabling certain features to improve performance.
Step 3 – Define Our Web Scraping Function
Now let’s define our function. Our function will take a search term as an input and return a list of dictionaries containing scraped search results.
def scrape_google_search_results(search_term):Next, we’ll need to initialize our Webdriver and navigate to the Google Search results page. We can do this by adding the following code within our scrape_google_search_results() function by initializing a Chrome WebDriver instance with the specified options and navigating to the Google search results page for the given search term.
search_url = f'https://www.google.com/search?q={search_term}'
driver = webdriver.Chrome(options=chrome_options)
driver.get(search_url)
Now it is time to add in the code that does the actual scraping. As mentioned earlier, we’ll be using Selenium to extract the data from Google Search results. Add the following code to your scrape_google_search_results() function.
try:
    WebDriverWait(driver, 10).until(EC.presence_of_element_located((By.CSS_SELECTOR, '.g')))
except TimeoutException:
    print("Timed out waiting for more results")

search_results = driver.find_elements(By.CSS_SELECTOR, '.g')
scraped_results = []

for result in search_results:
    try:
        title = result.find_element(By.CSS_SELECTOR, 'h3').text
        link = result.find_element(By.CSS_SELECTOR, 'a').get_attribute('href')
        description = result.find_element(By.CSS_SELECTOR, '.VwiC3b').text

        result_data = {"Title": title, "Link": link, "Description": description}
        scraped_results.append(result_data)

    except NoSuchElementException:
        pass
This snippet efficiently scrapes search results from a webpage using Python’s Selenium library. It waits for the page to load, extracts titles, links, and descriptions from the search results using CSS selectors, and handles potential errors gracefully. The extracted data is then organized into dictionaries and appended to a list for easy access and analysis.
Step 4 – Closing the WebDriver
We can’t forget to close the WebDriver instance and we’ll want to return the scraped Google Search results as well. Add this code underneath your scrape_google_search_results() function.
driver.quit()
return scraped_results
Full Code For Scraping Google Search Results
And as promised, here is the full code for your review.
from selenium import webdriver
from selenium.webdriver.common.by import By
from selenium.webdriver.support.ui import WebDriverWait
from selenium.webdriver.support import expected_conditions as EC
from selenium.common.exceptions import TimeoutException, NoSuchElementException

chrome_options = webdriver.ChromeOptions()
chrome_options.add_argument("--headless")
chrome_options.add_argument("--disable-gpu")
chrome_options.add_argument("--no-sandbox")
chrome_options.add_argument("start-maximized")
chrome_options.add_argument("disable-infobars")
chrome_options.add_argument("--disable-extensions")

def scrape_google_search_results(search_term):
    search_url = f'https://www.google.com/search?q={search_term}'
    driver = webdriver.Chrome(options=chrome_options)
    driver.get(search_url)

    try:
        WebDriverWait(driver, 10).until(EC.presence_of_element_located((By.CSS_SELECTOR, '.g')))
    except TimeoutException:
        print("Timed out waiting for more results")

    search_results = driver.find_elements(By.CSS_SELECTOR, '.g')
    scraped_results = []

    for result in search_results:
        try:
            title = result.find_element(By.CSS_SELECTOR, 'h3').text
            link = result.find_element(By.CSS_SELECTOR, 'a').get_attribute('href')
            description = result.find_element(By.CSS_SELECTOR, '.VwiC3b').text

            result_data = {"Title": title, "Link": link, "Description": description}
            scraped_results.append(result_data)

        except NoSuchElementException:
            pass

    # Close the WebDriver
    driver.quit()
    return scraped_results

# Example usage:
search_term = "your search query here"
results = scrape_google_search_results(search_term)
print(results)
In wrapping up, we’ve covered the nitty-gritty of crafting a Python script to scrape Google search results using Selenium. It’s been quite the journey, diving into waiting for page elements and extracting juicy data.
But hey, our scraping adventure doesn’t have to stop here! Let’s think about jazzing up our script for even cooler tricks. How about adding a feature to flip through multiple search result pages (pagination), or throwing in different user agents and proxies to keep things stealthy? And don’t forget about tweaking our script to handle bigger loads of data like a champ. With these tweaks, we’ll be cruising through the web scraping world with style and efficiency.
Cheers to more scraping adventures ahead! 🍻